


 When coming to the bottom the geometry of the bowl combined with the tool makes it difficult to cut the bottom clean. For this a gauge hook is used. It is used from the out side and in towards the center. Nice tool, will buy my one at the end of the course. The turnig went ok and the inside turned out ok for a beginner.
 I made one more bowl from green wood. The same steps but different shape. When starting the inside I made the side thinner then I expected. When shining light through the bowl the light was not red as I expected but white. I continued to make the side thin just for practice and did't expect the bowl to live through it, but it did.
 So for the finale I did a bowl out of dry wood. Same methods but trying to keep the bowl a bit thicker than when using green wood. For some reason the last pass of the inside made it all bumpy and I couldn't fix it. The bowl started to wobble a little so I guess I removed to much material from the side and tensions were released in in the wood making it deformed.
Her is the gauge hook with a home made jigg to sharpen it on the Tormek. Guess I need to make one of them in the future.

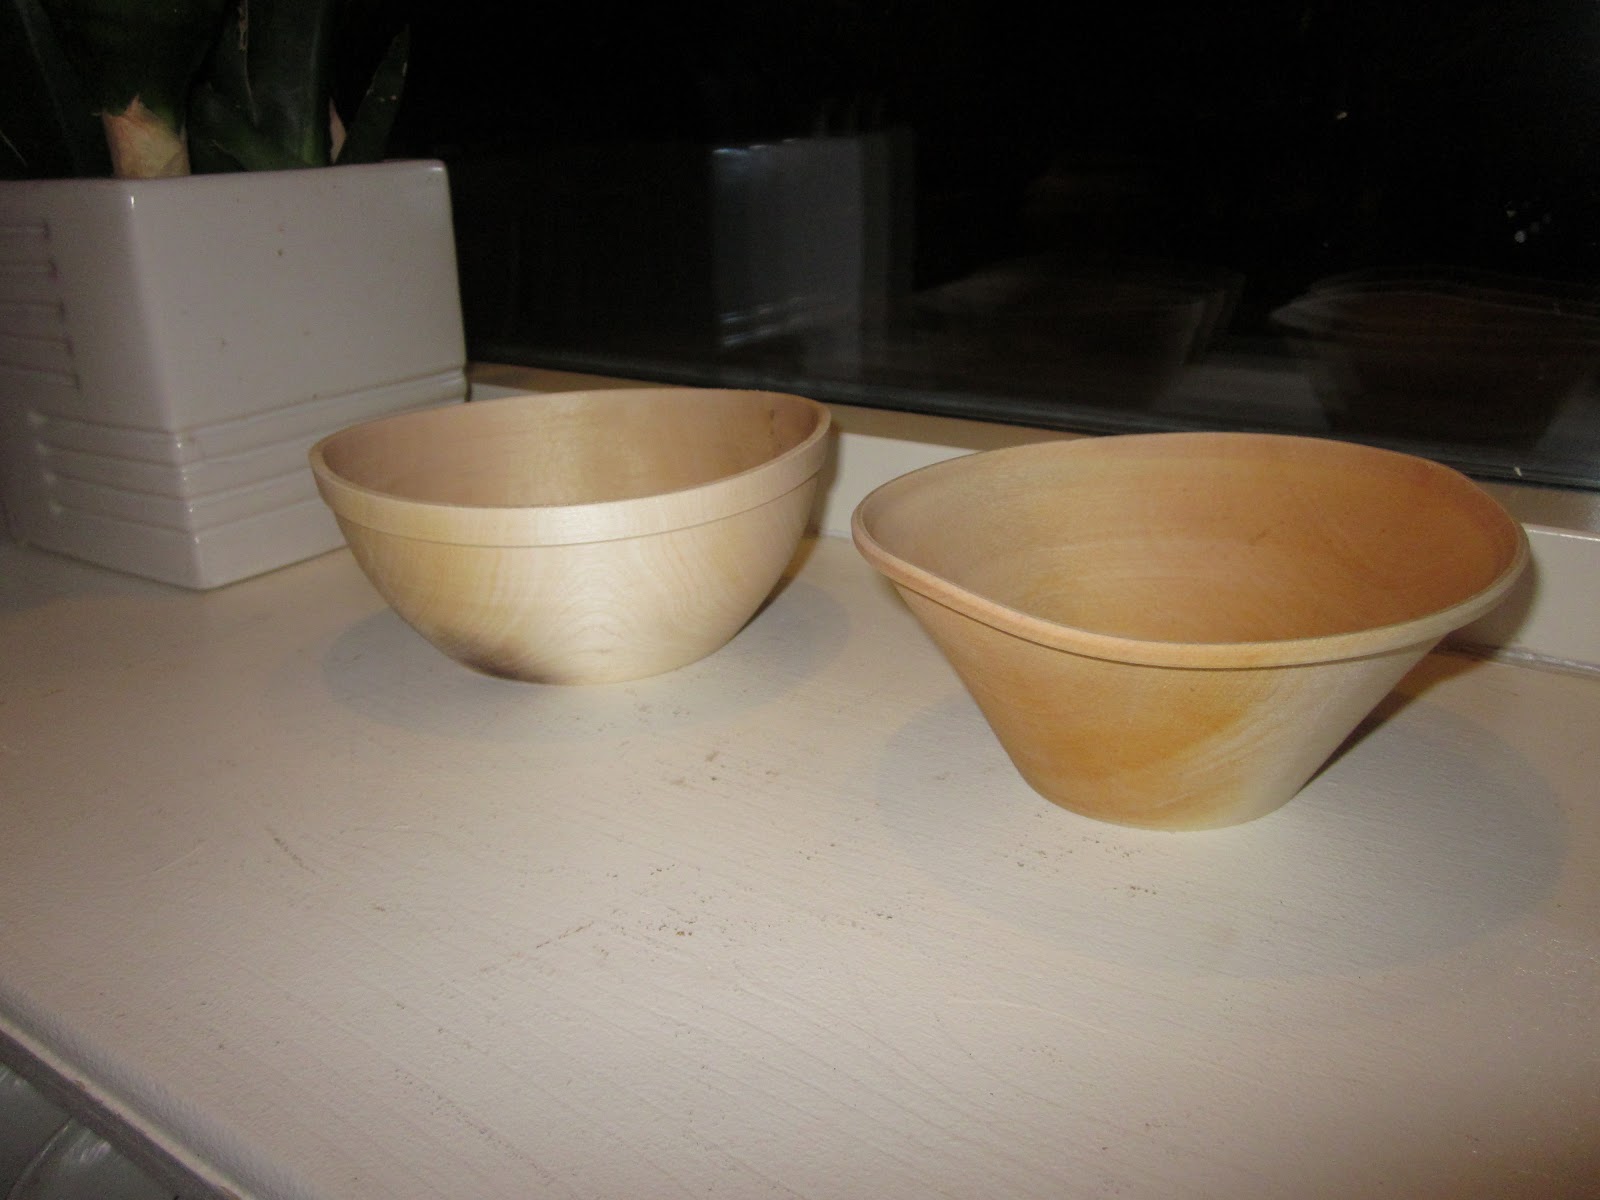
When I got home I put the two green bowls in the micro and dried them. The first had already started to crack when I left the course. The black at the bottom of the first one...I manage to burn it in the micro.
According to Åke it took about 20 min to learn us the technics and the rest is just practise this of those during this course. I think it took more than 20 min but the tools are few and the technics are basically the same. Mastering them is of course a noter matter. Thats all for day 3. Tomorrow we will continue with what ever we feel like and I think I will do some more "Tipover-Tops". If you have't visits Åkes site take a look. I make a link that will translate it to English using google translate.
Inga kommentarer:
Skicka en kommentar